
I recently completed a PINK Silk Shantung bassinet for my cousin’s 3rd baby within 5 years…finally a GIRL! Although boys are awesome, sewing for little girls is just so much more fun, right?!
This was my first round bassinet. All prior bassinets I’ve done were oval. It presented many obstacles, but I got it done somehow.

Instead of using the white Silk Shantung I had purchased for this project, I ended lining it with a white 600 count thread sheet….total luxury for a princess. The white Silk fabric was not at all a crisp white like the sheet material I decided on. It was too close in color to the pink Silk Shantung fabric. Guess I’ll have enough white Silk for a Christening dress in the future.
Instead of doing several silk bows around the silk bassinet skirt, I opted for a matching sash with several crystal buckles.

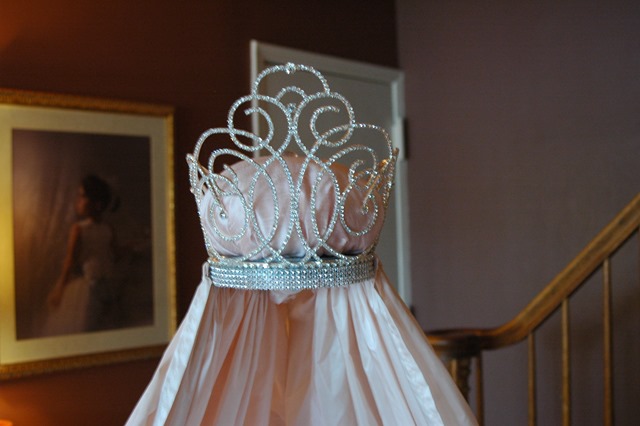
And of course, every princess needs a tiara. I had thought I ordered a much smaller tiara from my supplier, but was a little shocked when I realized it was 10 inches high. Oh well..

I secured it to a wooden circle that I painted silver. My brother drilled a hole through the wooden circle and the curved pole to secure it with a bolt. To hide the bolt, I made a matching round pillow with topped with a big arse rhinestone on the top.

I gathered the pink Silk curtain panels and stapled them to the outer edge of the silver wooden circle and trimmed it with rows of rhinestones.

Enough about the bassinet. Meet Princess Cali Rose! Even though she’s technically my 2nd cousin, I’m Aunt Lisa.

and yes, I know, I haven’t blogged in ages, but I had to share this one with you. I’ll try to be a better blogger…


